

What’s Supported
Supported Actions
The Hubspot connector supports:- Read Actions, including full historic backfill and incremental reads.
- Subscribe Actions.
- Write Actions.
- Proxy Actions, using the base URL
https://api.hubapi.com.
Supported Objects
The Hubspot connector supports writing to and reading from the following objects:- companies
- contacts
- deals
- emails
- calls
- meetings
- notes
- All other standard CRM objects
- Custom CRM objects
- lists (note: incremental reads not supported for Lists)
- Users and owners (see below)
Reading users and owners
To read users from your customer’s HubSpot workspace, enable thecrm.objects.users.read scope and add users as an object in amp.yaml:
Example Integration
For an example manifest file, visit our samples repo on Github.Before You Get Started
To integrate HubSpot with Ampersand, you’ll need to create a HubSpot app and obtain:- Client ID
- Client Secret
Creating a HubSpot App
Method 1: New Project Apps
New Project Apps are limited to 25 installs , until the app is listed on the HubSpot Marketplace. We recommend starting the process to publish to HubSpot marketplace as soon you’ve finished building your integration and tested it internally or with a customer. To create a New Project App:- Open the terminal
-
Install the HubSpot CLI:
npm install -g @hubspot/cli -
Authenticate using
hs account authand select open HubSpot to get your key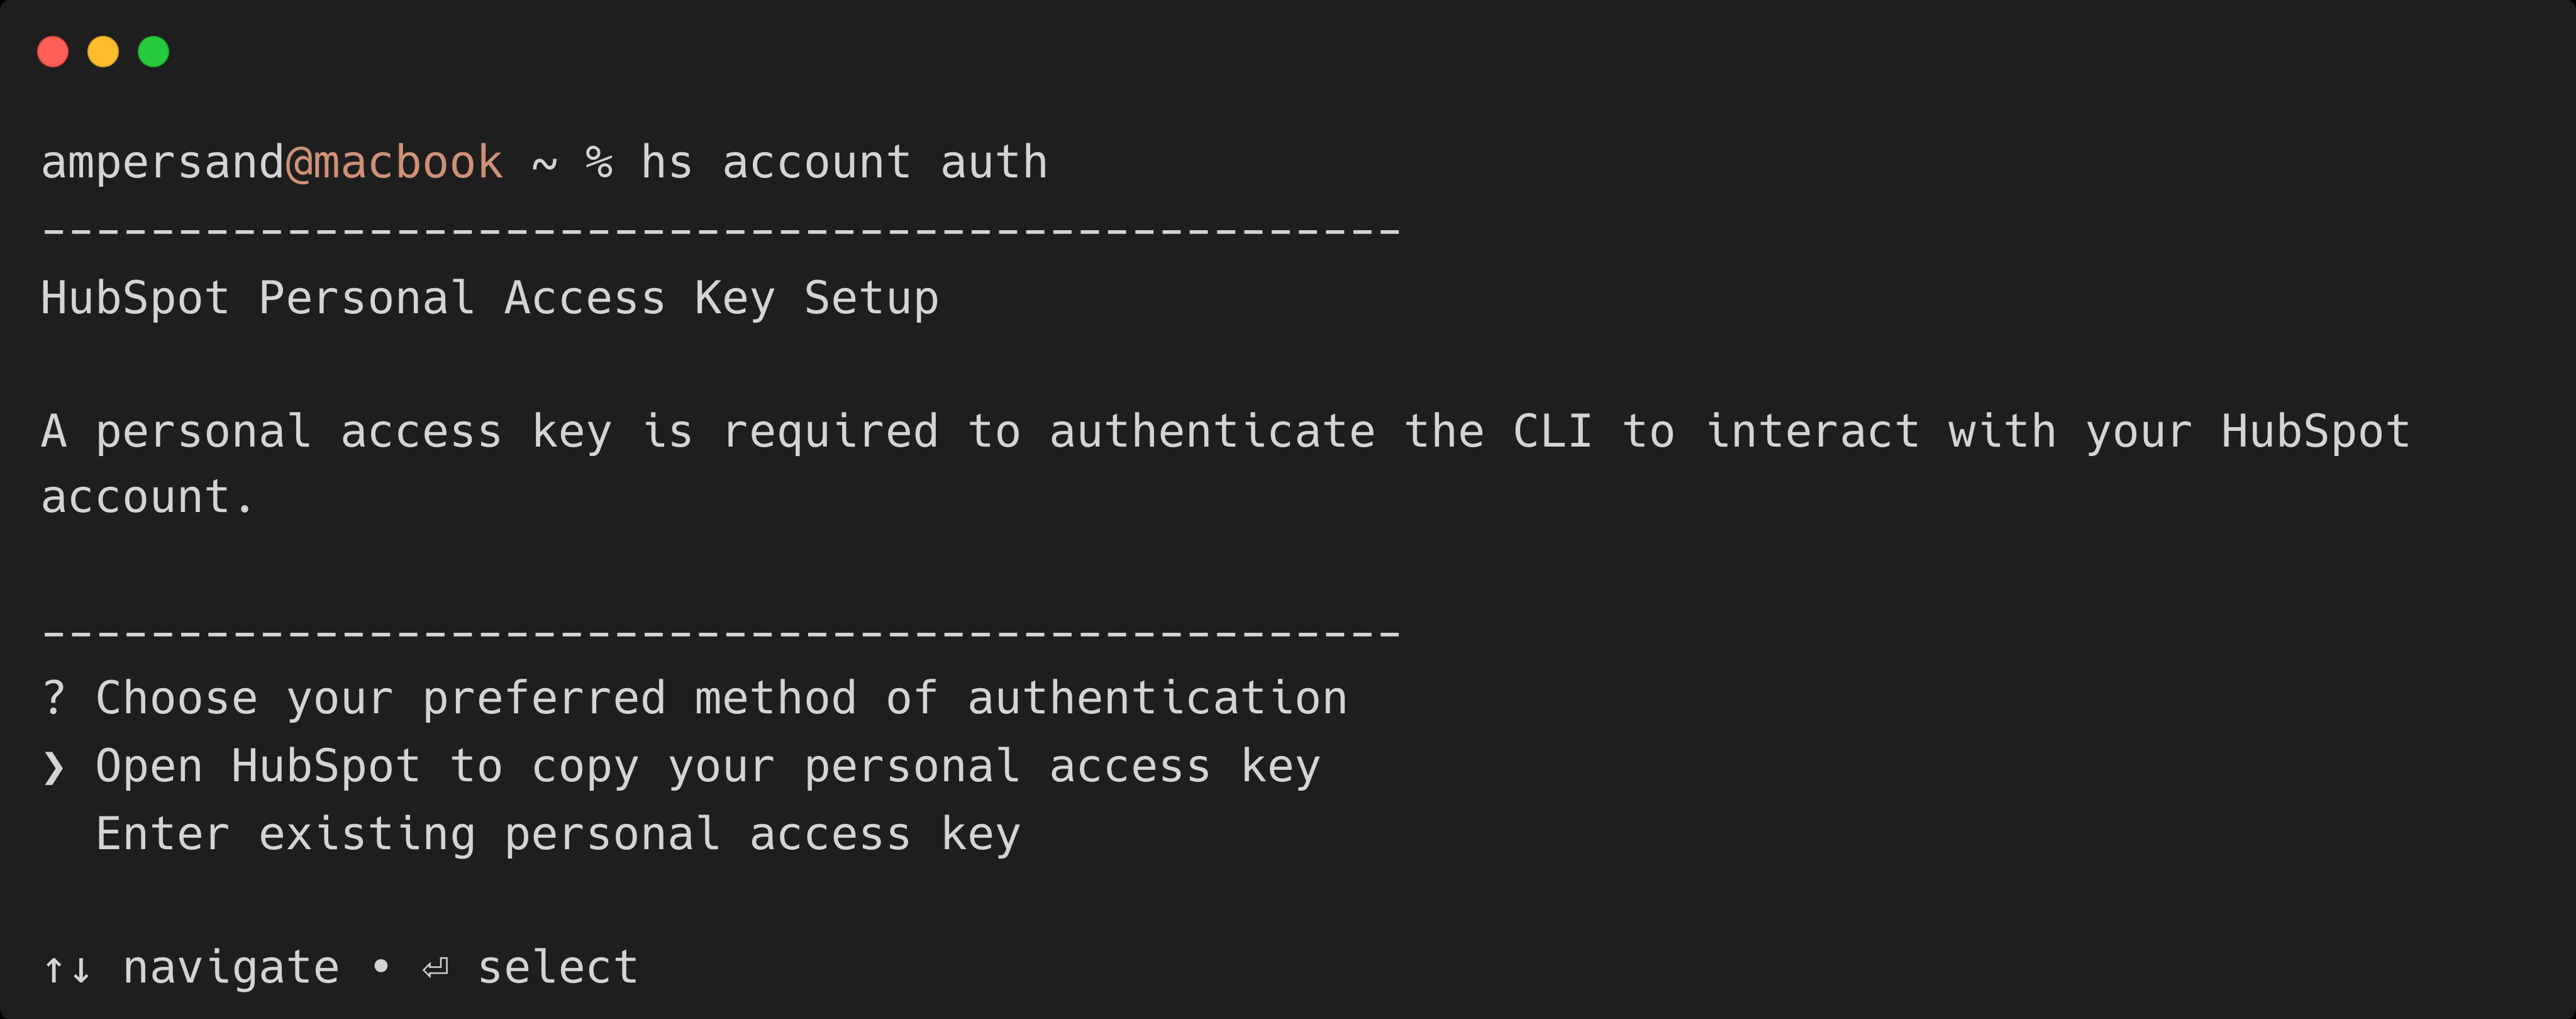
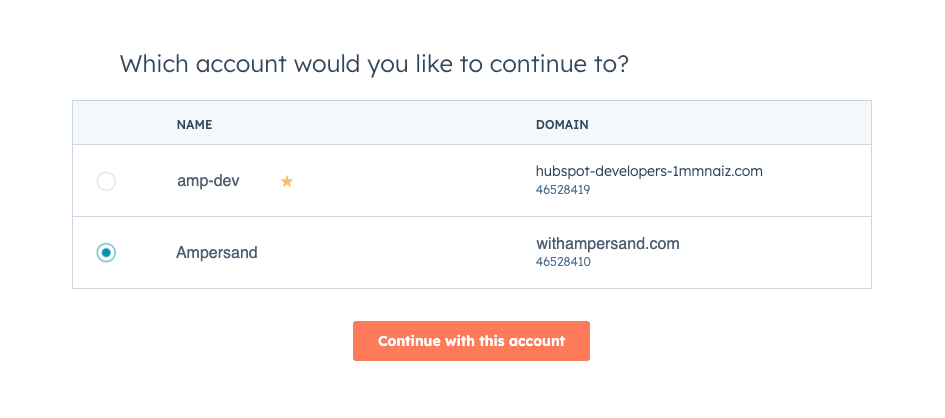
- Select your account (if prompted)
When you have multiple accounts, you will be prompted to select the account
where you want to create the app. Make sure to select the developer account.
-
Create your Personal Access Key and copy it

-
Go back to terminal, paste the key and hit Enter
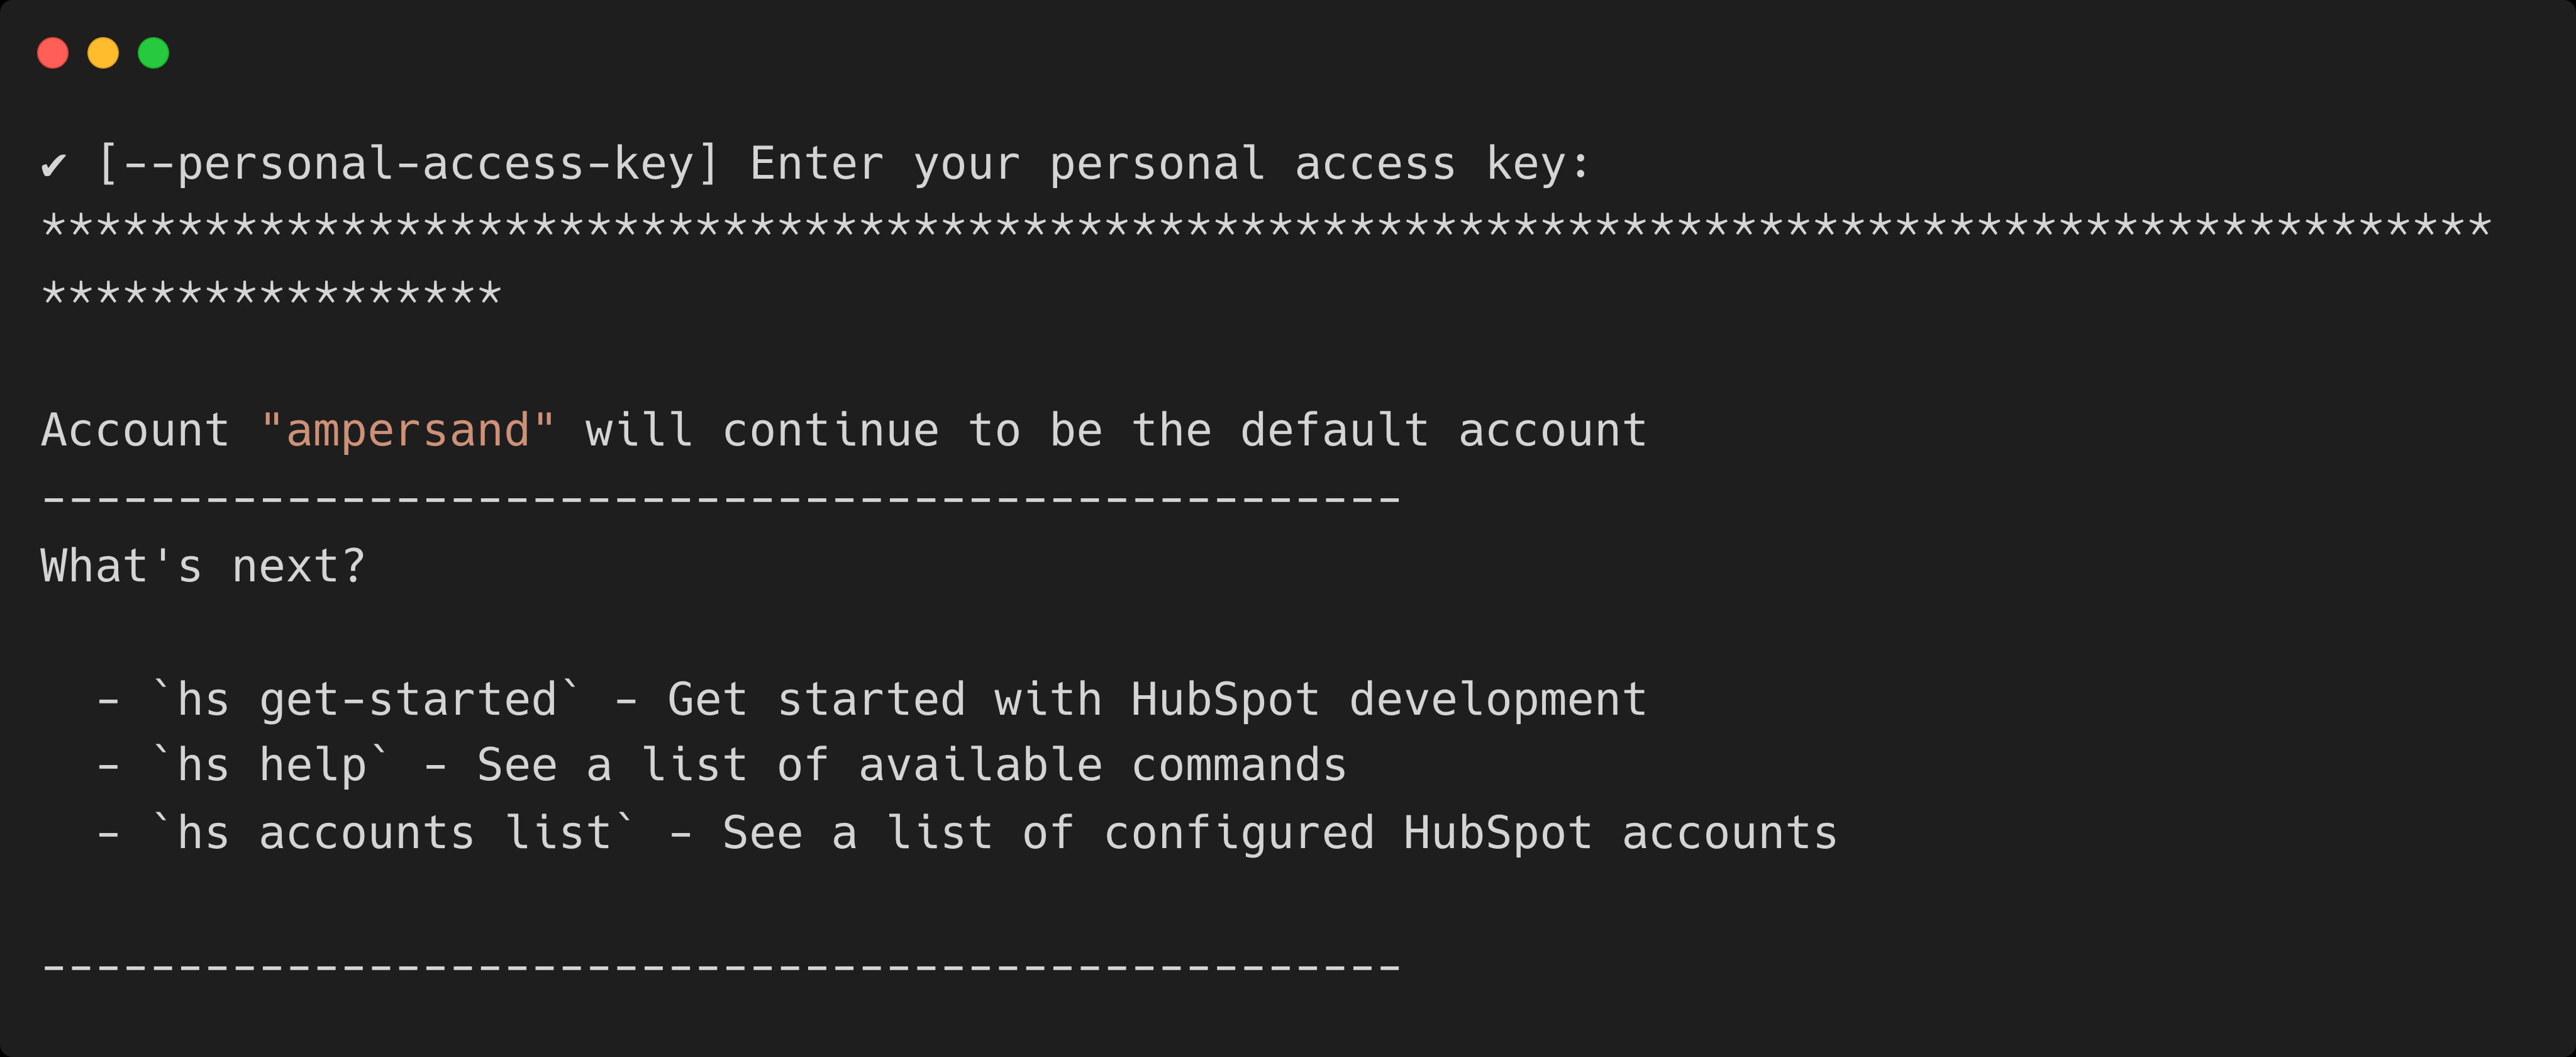
-
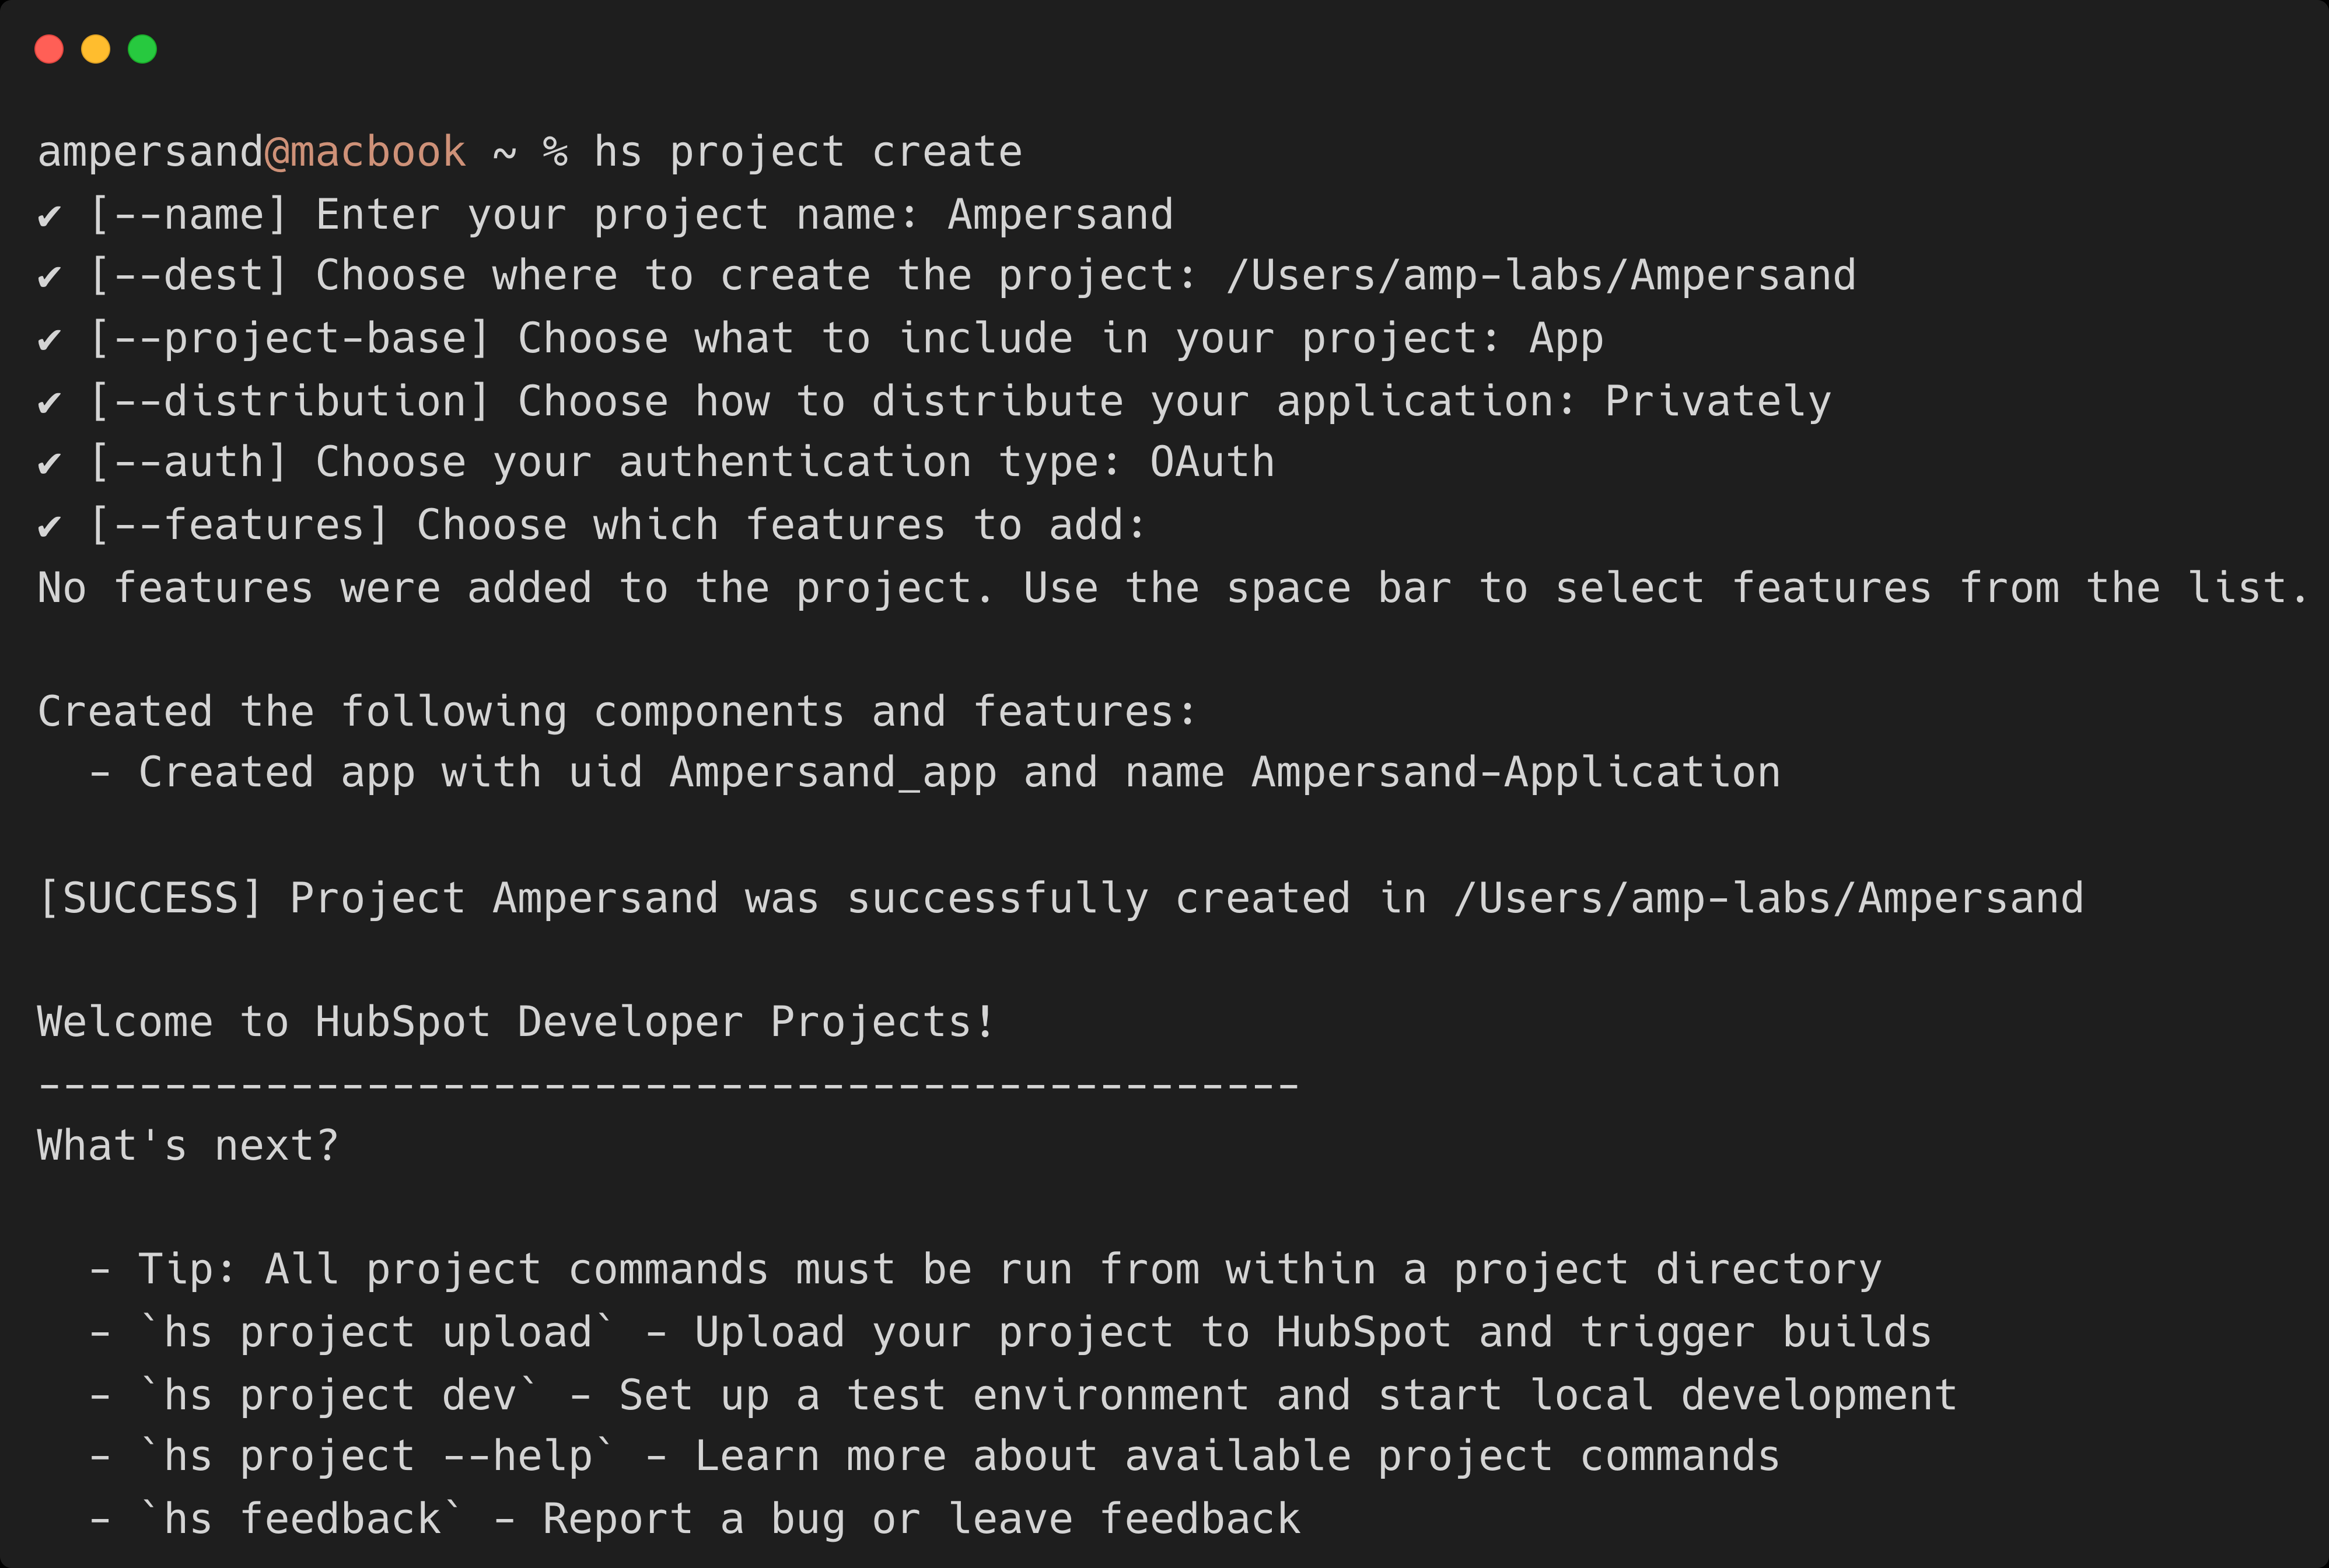
Create a project:
hs project createand follow the prompts
- Enter your project name: your-project-name
- Choose where to create the project: your-desired-path
- Choose what to include in your project: App
- Choose how to distribute your application: Marketplace (See HubSpot’s distribution options)
- Choose your authentication type: OAuth
- Choose which features to add: Leave blank (press Enter)
- Configure OAuth redirect URL and scopes
src/app/app-hsmeta.json to add the redirect URL and scopes:
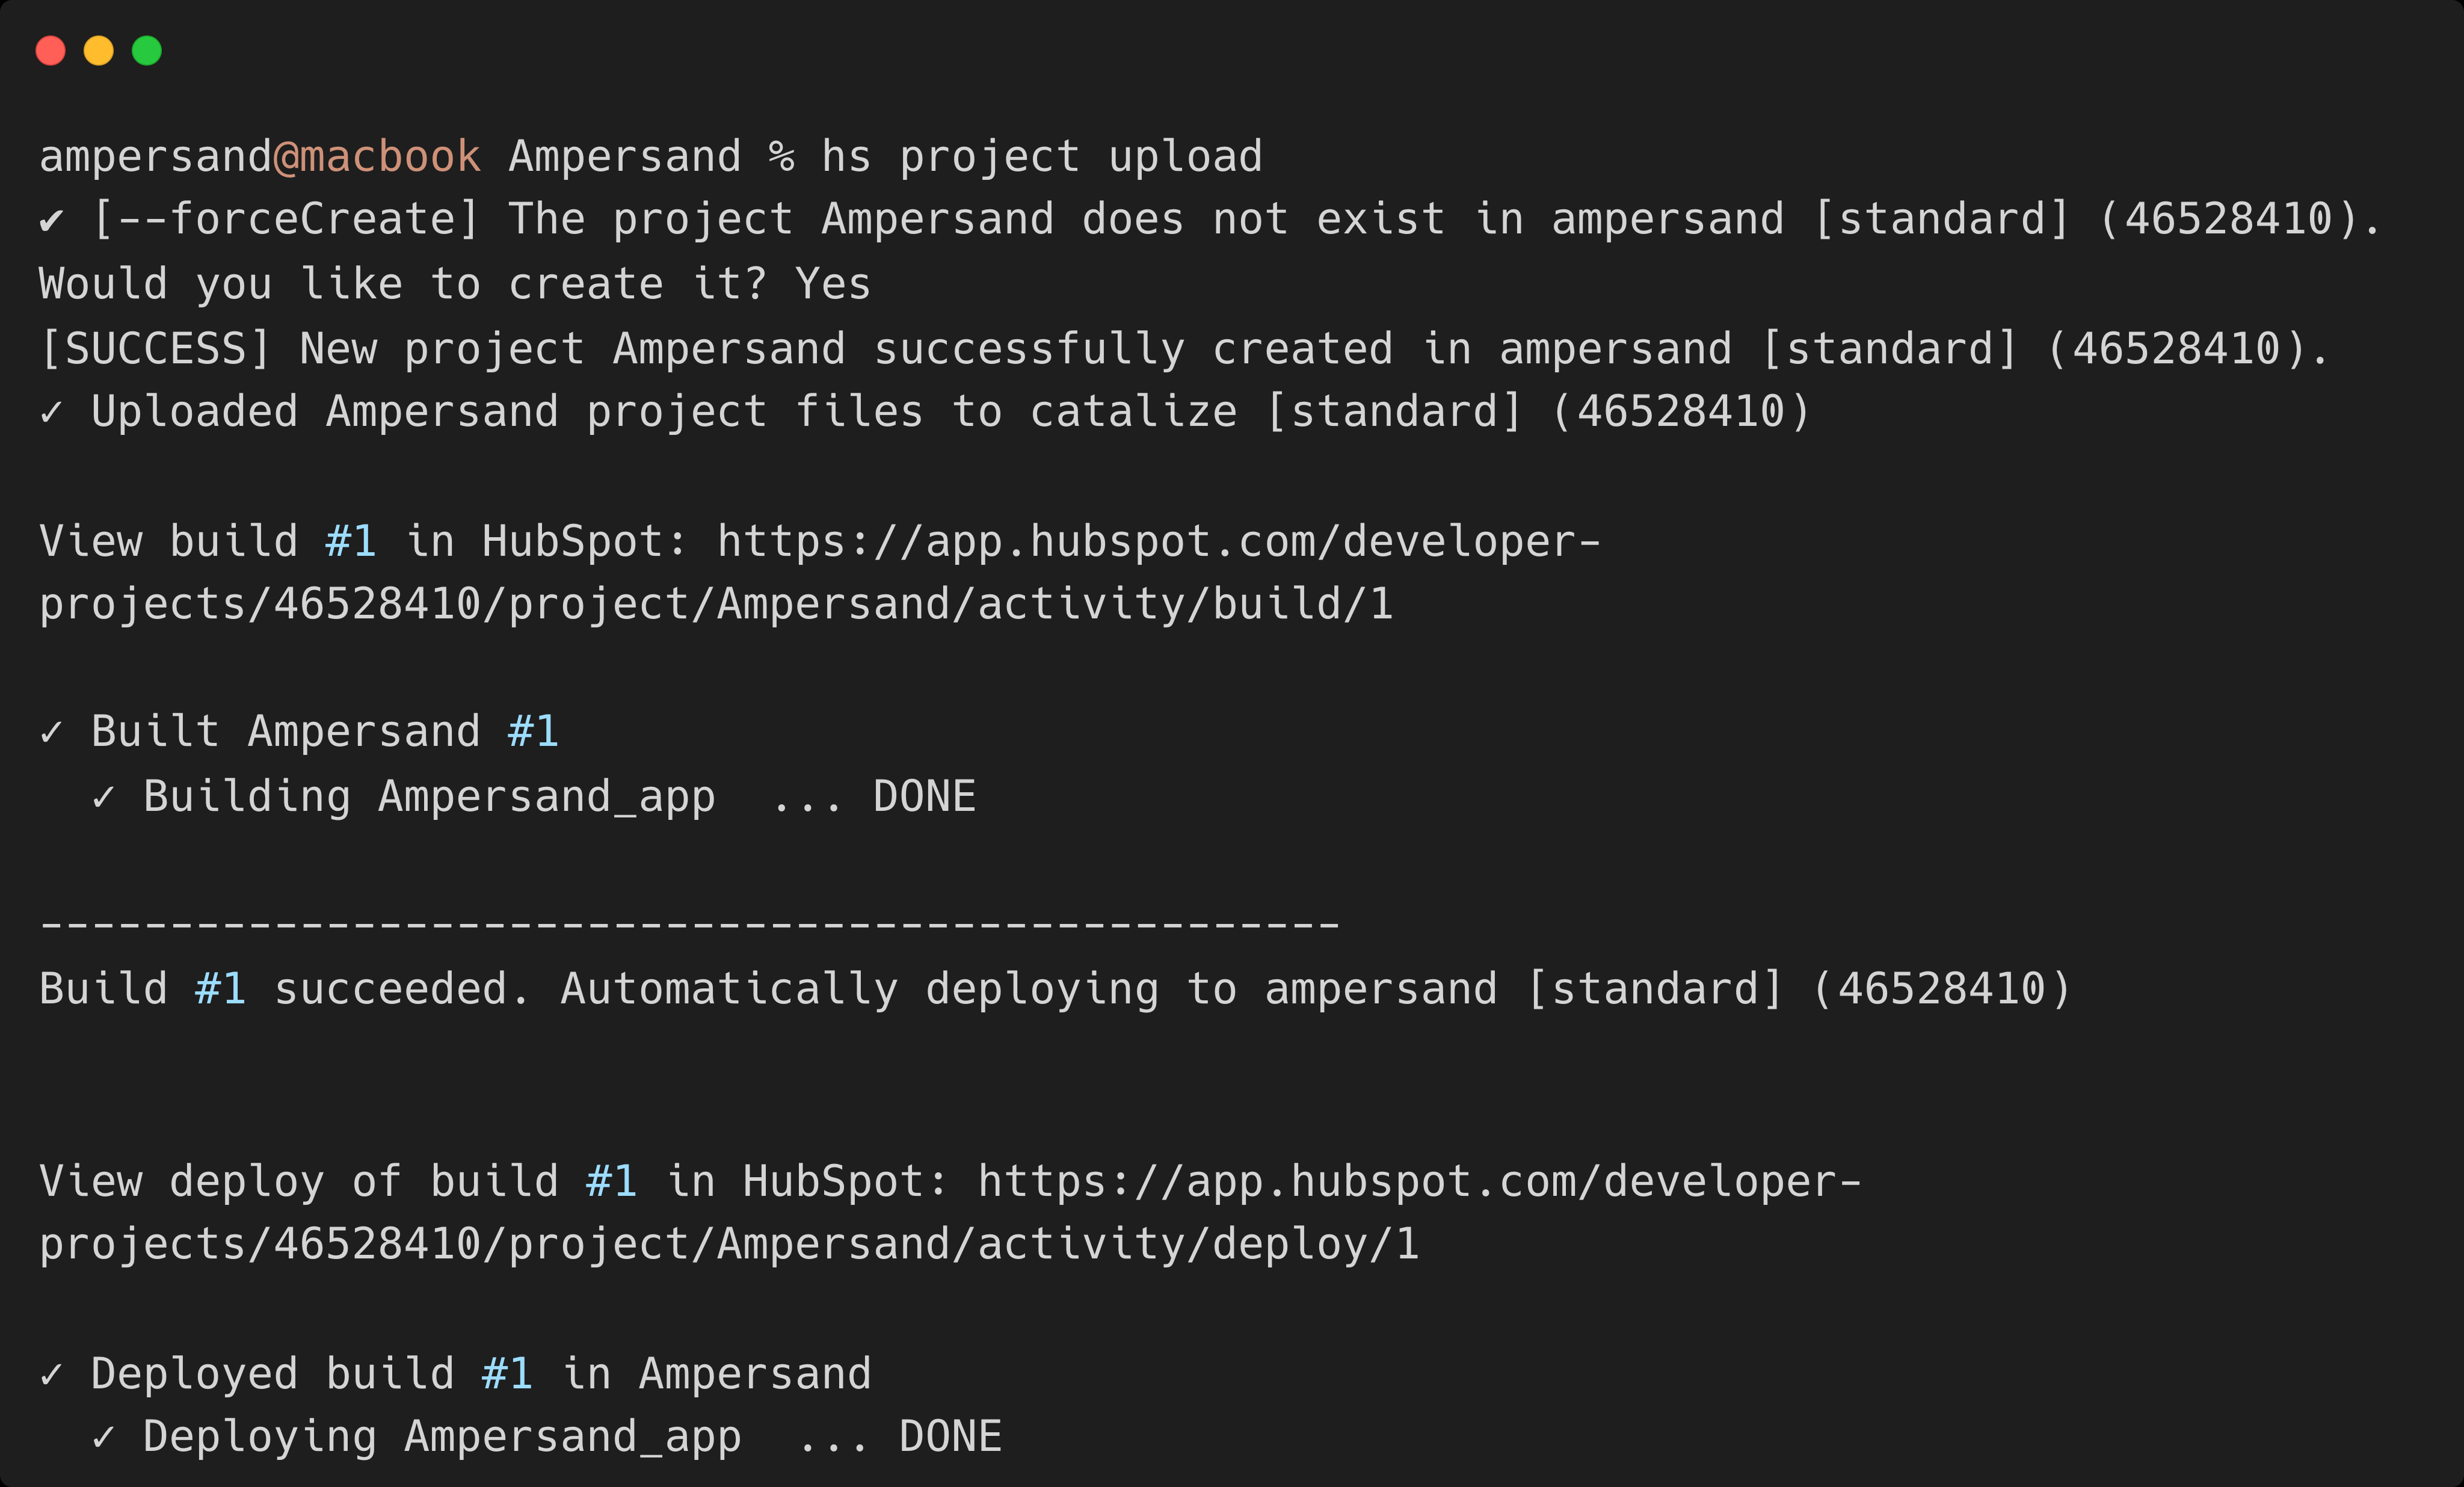
- Deploy:
hs project upload
- The project does not exist. Would you like to create it?: Yes
- Get App credentials from Development → Projects
- Select the project you just created
- In Project Components, find the OAuth App
- Go to the Auth tab to find your Client ID and Client Secret
Method 2: Legacy Apps
Legacy Apps has no install limits but won’t receive
new HubSpot
features.
When you migrate a Legacy App to a new Project App, you will be subject to the 25 install limit until your app is listed in the HubSpot marketplace. Please see HubSpot changelog for more details.
Developer accounts created after September 2025
- Log in to your HubSpot developer account
- Navigate to Development → Legacy apps
If you don’t see the Development menu, you need Super Admin permissions.
-
Click Create → Select Public

-
Enter Public app name and go to the Auth tab
Add Redirect URL:
https://api.withampersand.com/callbacks/v1/oauthand click “Create app”
-
Go to the Scopes section, click “Add new scope” and select your required scopes
-
Copy your Client ID and Client Secret from the Auth tab
Developer accounts created before September 2025
- Log in to your HubSpot Developer Dashboard
- Click Create an app
- Enter Public app name, click the Auth tab, add Redirect URL:
https://api.withampersand.com/callbacks/v1/oauthand click “Create app” - Go to the Scopes tab and select your required scopes
- Copy your Client ID and Client Secret from the Auth tab
Add App to Ampersand
After creating your app using any method above:- Log in to your Ampersand Dashboard
- Select your project → Provider apps
- Select HubSpot from the Provider list
- Enter your Client ID, Client Secret, and Scopes and click Save changes.
These scopes must should match the exact set of scopes defined in your HubSpot app.
Using the connector
To start integrating with HubSpot:- Create a manifest file like the example
- Deploy it using the amp CLI
- If using Read or Subscribe Actions, create a destination
- Embed the InstallIntegration UI component
- Start using the connector!
Customer guide
Share the HubSpot customer guide with your customers to help them use your integration.Publish to HubSpot Marketplace
When you are ready to list on the HubSpot marketplace, follow the instructions in the HubSpot documentation.- For the App Information section, you should use information about your company, not about Ampersand.
- For Install Button URL, use the URL of your application that users go to to start the installation process (this is usually where you’ve embedded the Ampersand UI Component).